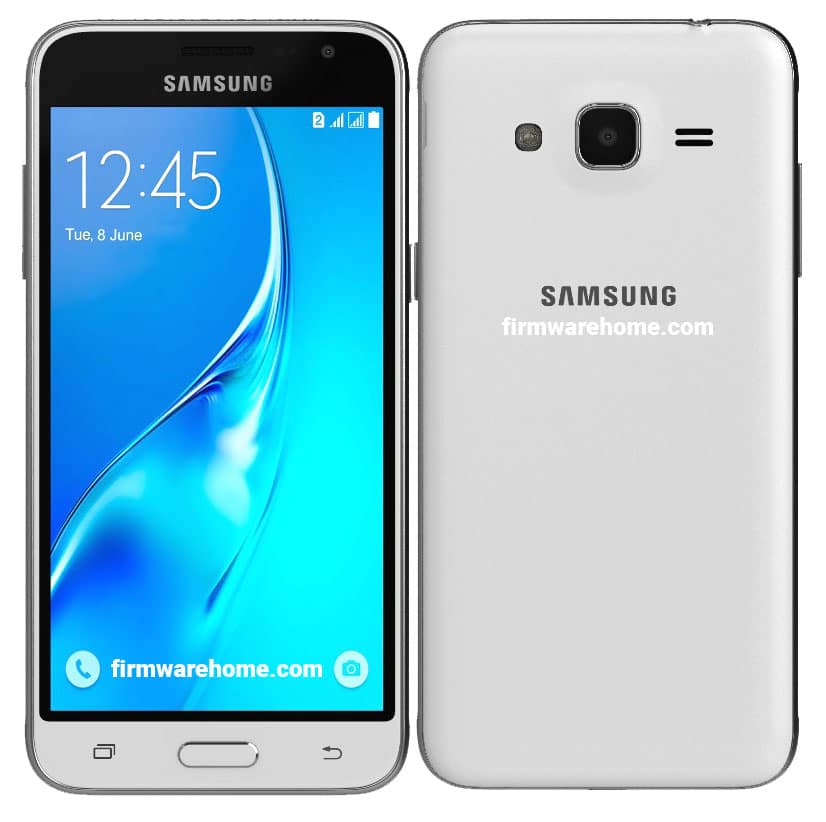
Samsung Galaxy J3 released on the 15th of January 2015. Even after the termination of sm-j320f firmware update by manufacturers we have the original and trusted firmware that you seek. If you wanted an sm-j320f firmware Lollipop update you are in the right place. We are going to flash the Samsung j320f flash file into the J3. For that, it’s essential for having a proper tutorial. Here we got you covered.
Brief table of Contents

Flash Samsung Galaxy J3 SM-J320F Stock Firmware
Preparations
- Backup all the data of the smartphone.
- You need a battery performance of more than 70%.
- Download and install the Samsung Drivers on your Windows PC.
- SM-J320F Stock Firmware and Odin flash tool.
Flash Samsung Stock Firmware using Odin
- First, you have to download sm-j320f firmware. Make sure to find the exact firmware version for your J3.
- Extract the downloaded zip file into a new folder. You will see 4 .tar.md5 files in there.
- Now download the latest Odin version on your computer. Extract it and there will be 3 files with different extensions.
- Then we have to boot the Galaxy J3 into the download mode. Turn off the device. Press and hold the home button and power button with the volume up button at once. When the device vibrates release the power button and you will see a blue warning screen.
- On the screen, they clearly say to click the volume up button to continue. do as it says.
- Now on your PC run the .exe file in the Odin folder.
- Then connect the PC with the galaxy j3 using a USB cable.
- Once it did Odin will recognize the smartphone automatically.
- You will see an “Added!!” message on the screen.
- Now you have to click the AP button and browse the firmware folder and select the tar.md5 file to the corresponding slot.
- Finally, you can start the flashing sm-j320f firmware process by clicking the START button.
You will see a “PASS” message when it’s finished.
Stuck at boot loop while flashing sm-j320f firmware
If the flashing process takes too long the device most likely stuck in a boot loop.to fix this problem follow these instructions.
- First, boot the galaxy J3 into the recovery mode. In order to do that press and hold up Volume Up, Home, and Power buttons at once. The phone will vibrate soon later and you have to release the power button but keep pressing the other 2 buttons. The device will be boot into the recovery mode.
- Next, you have to select the Wipe data/factory reset, then Wipe data, Wipe cache partition and wipe cache.
- Then restart your phone by selecting the Reboot system now.
- Now the issue is fixed so the device will restart without any problem.
Samsung J3 (2016) SM-J320F Firmware download
{Stock ROM Flash file}
Country: Germany
Android: 5.1.1
PDA: J320FXXU0AQL1
CSC: J320FDBT0AQK1
Product Code: DBT
Download Firmware: Start Download through this link
Country: Afghanistan
Android: 5.1.1
PDA: J320FXXU0ARL2
CSC: J320FOJV0ARL2
Product Code: AFG
Download Firmware: Start Download through this link
Country: Bangladesh
Android: 5.1.1
PDA: J320FDDU0ARD1
CSC: J320FODD0ARD1
Product Code: BNG
Download Firmware: Start Download through this link
Country: France
Android: 5.1.1
PDA: J320FXXU0APD4
CSC: J320FOJV0APD5
Product Code: COR
Download Firmware: Start Download through this link
Country: Belgium
Android: 5.1.1
PDA: J320FXXU0APG2
CSC: J320FPRO0APH2
Product Code: PRO (Proximus)
Download Firmware: Start Download through this link
Country: Caucasus Countries
Android: 5.1.1
PDA: J320FXXU0AQK2
CSC: J320FOXE0AQK2
Product Code: CAU
Download Firmware: Start Download through this link
Country: Czech Republic
Android: 5.1.1
PDA: J320FXXU0AQL1
CSC: J320FOXX0AQK1
Product Code: ETL
Download Firmware: Start Download through this link
Final Note
Please make sure to download the exact version of firmware or else you might end up with a bricked device. If you wanted an sm-j320f firmware marshmallow update, It not officially released from Samsung this mobile phone. You need to find a custom ROM file for the sm-j320f firmware marshmallow update.

Leave A Comment?